This guide will walk you through the process of editing and deleting jobsites in the Lubewear application. Follow these instructions to efficiently manage your jobsite information. This guide is designed for experienced users of the portal as you can delete and change information in this section, so be careful when using this page.
Go to lab.lubewear.com
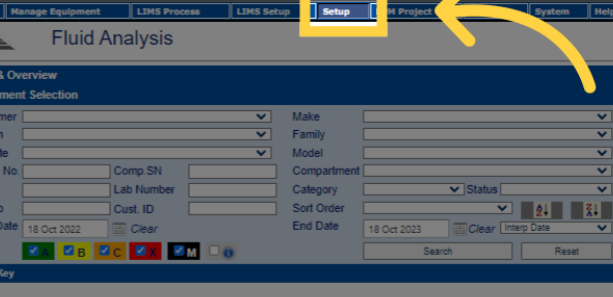
1. Click “Setup”
You need to get to the admin fluid analysis section of the portal. You can do this by clicking on fluid analysis in the application where you pre-reg and access results normally. The fluid analysis section looks like this and is the backend power user section. When into this section, if the lab have granted you permission, you should have a “Setup” option at the top with customer underneath it. If you don’t see this speak to the lab about getting this permission added to your login. If you have then click Setup.
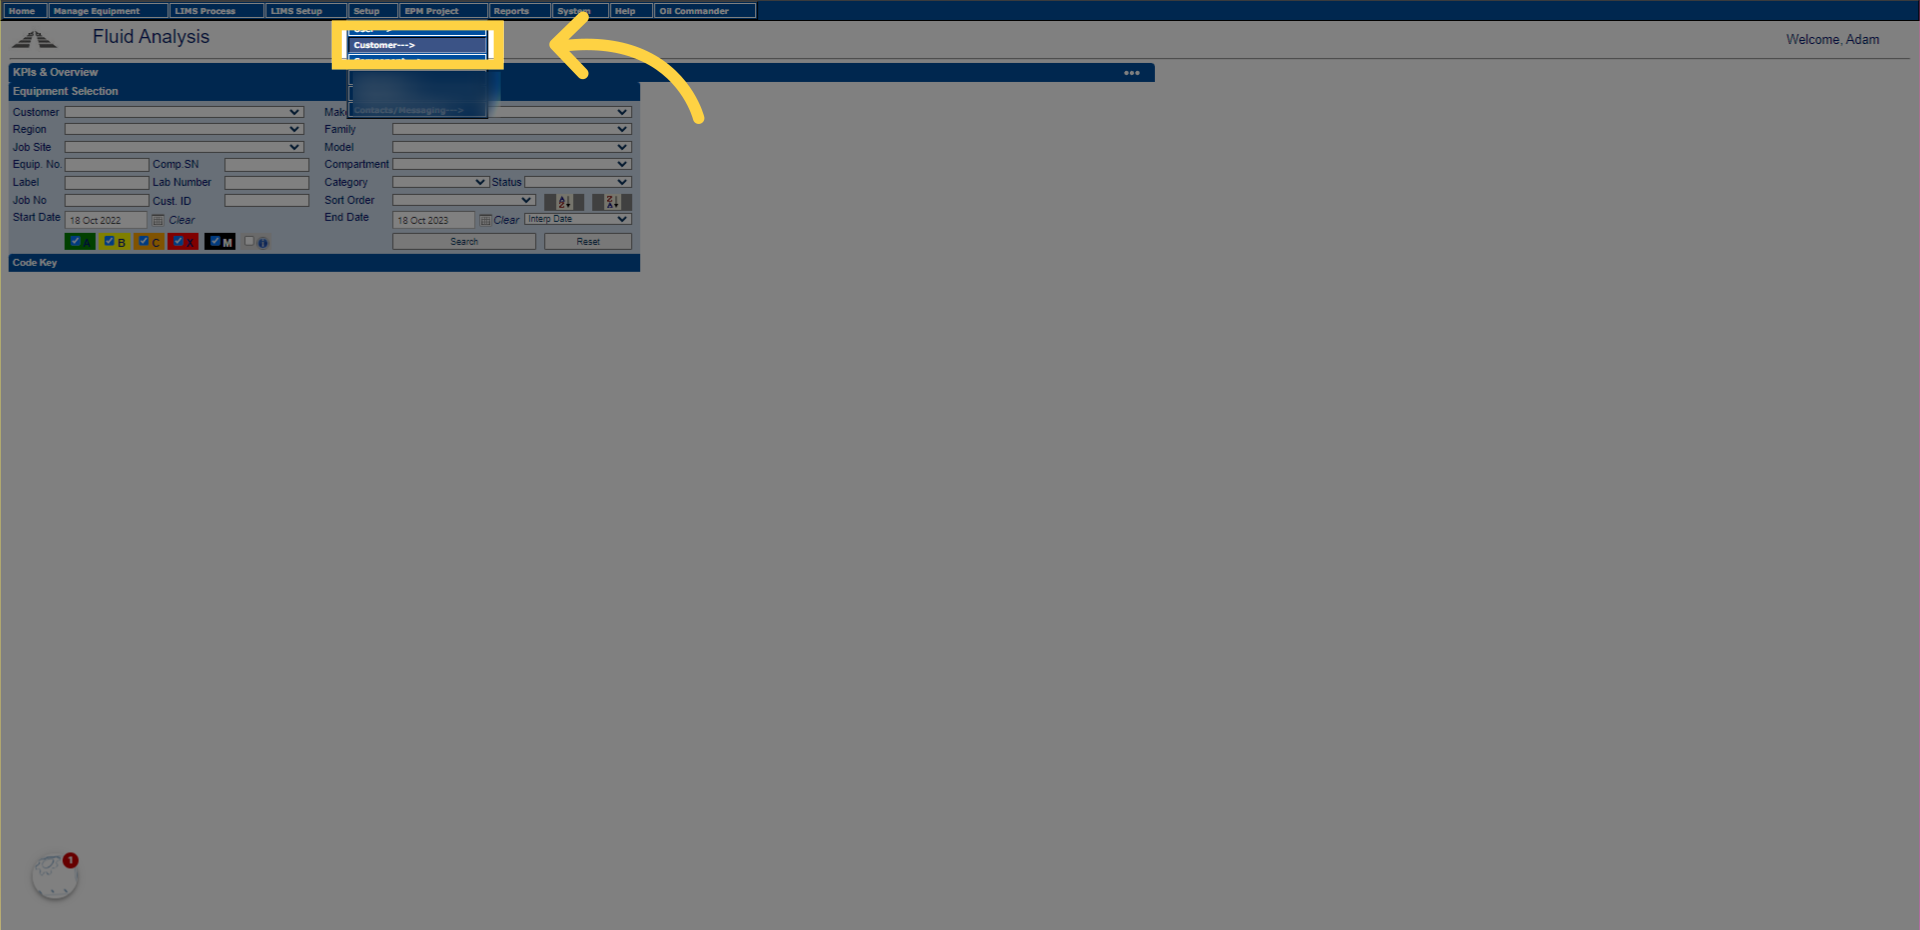
2. Click “Customer—>”
Click on the “Customer” option.
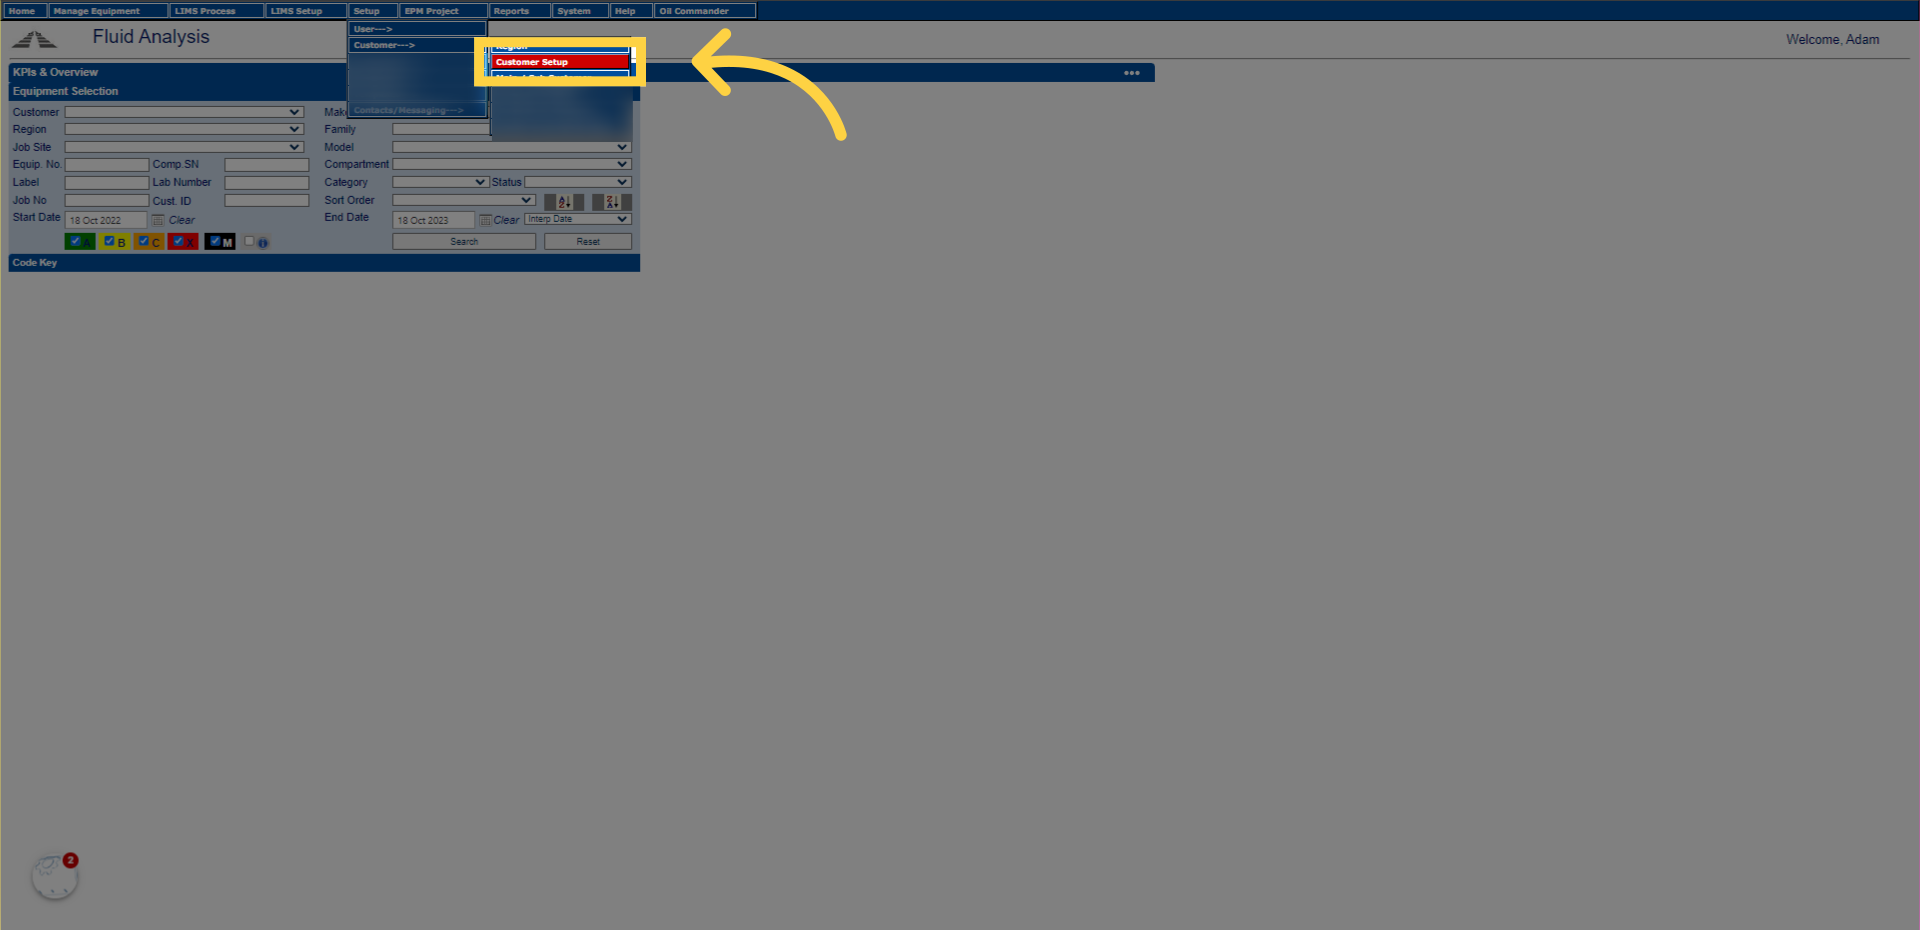
3. Click “Customer Setup”
Click on the “Customer Setup” option. Don’t worry if you don’t see all the other options, you won’t see all the options in this grid as this is on my login. I have all the features enabled on my login for making these nice videos for you. You don’t need them all, and, it can be a bit scary if you did.
4. Pick a customer under lookup customer
Pick a customer in the lookup customer. It will likely only have one option for you. Wait a few seconds for the details to populate into all the boxes. I will pick an Example customer I use for my tutorial videos when showing how to make jobsites.
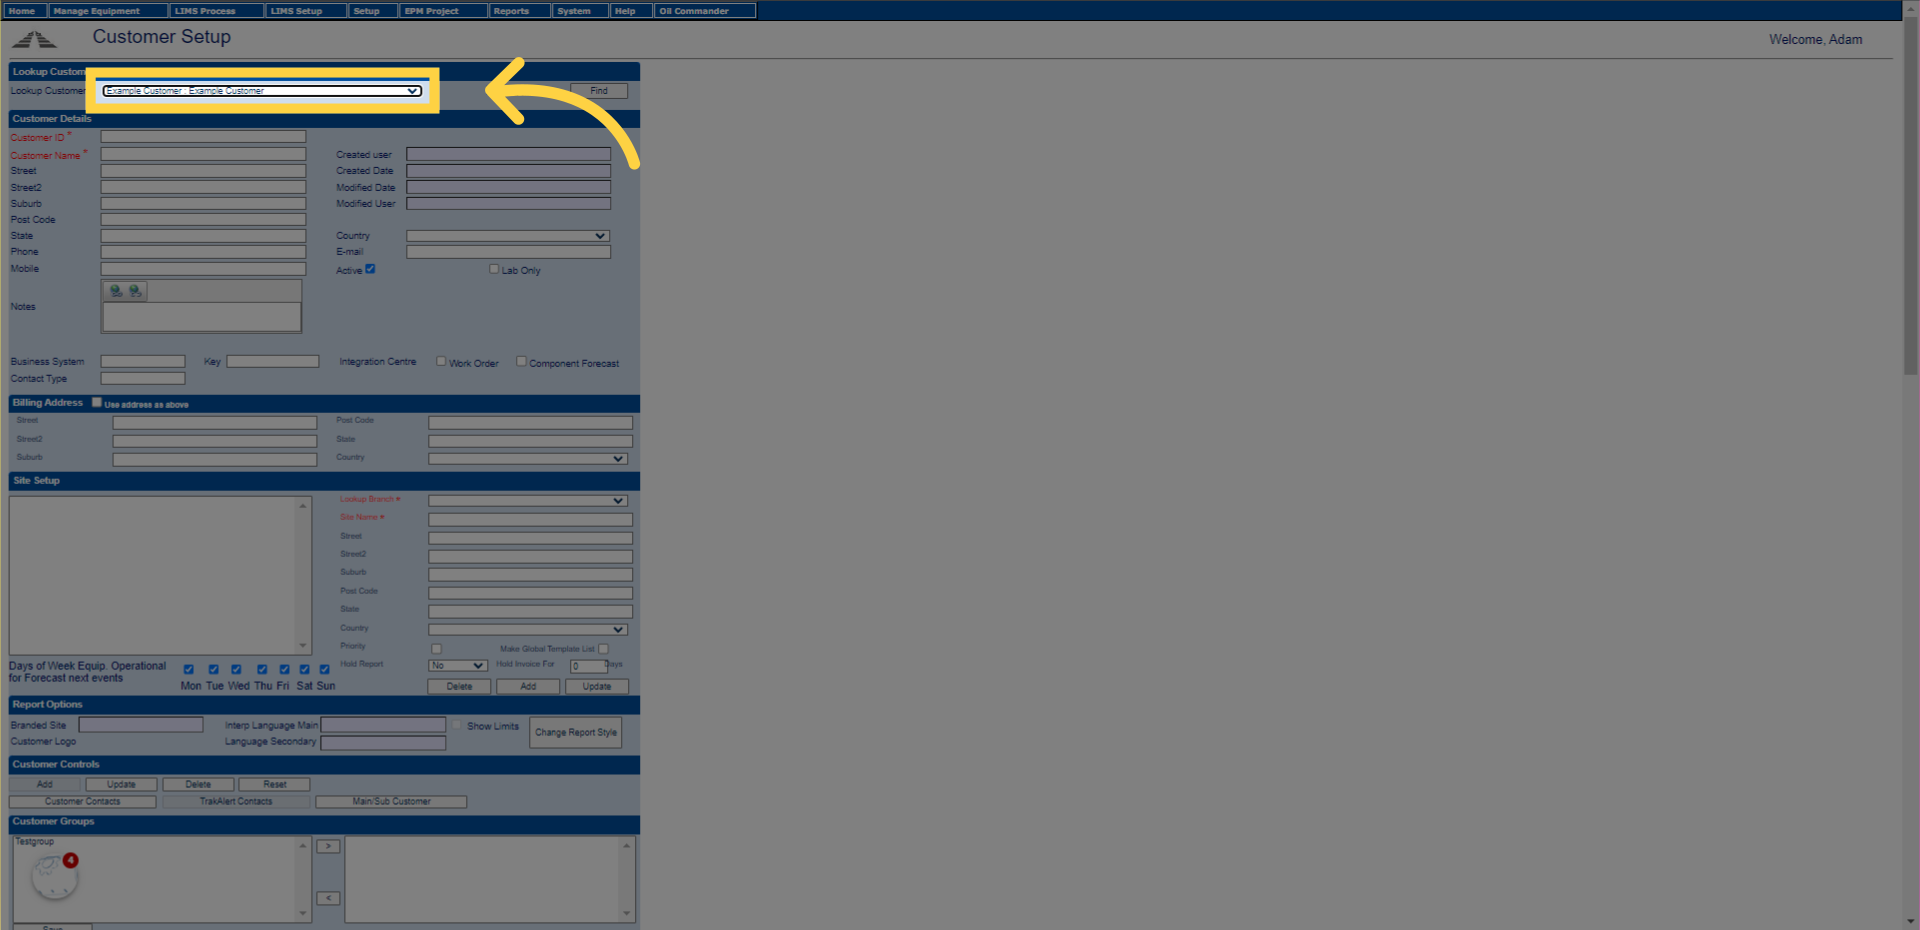
5. Here are the sections
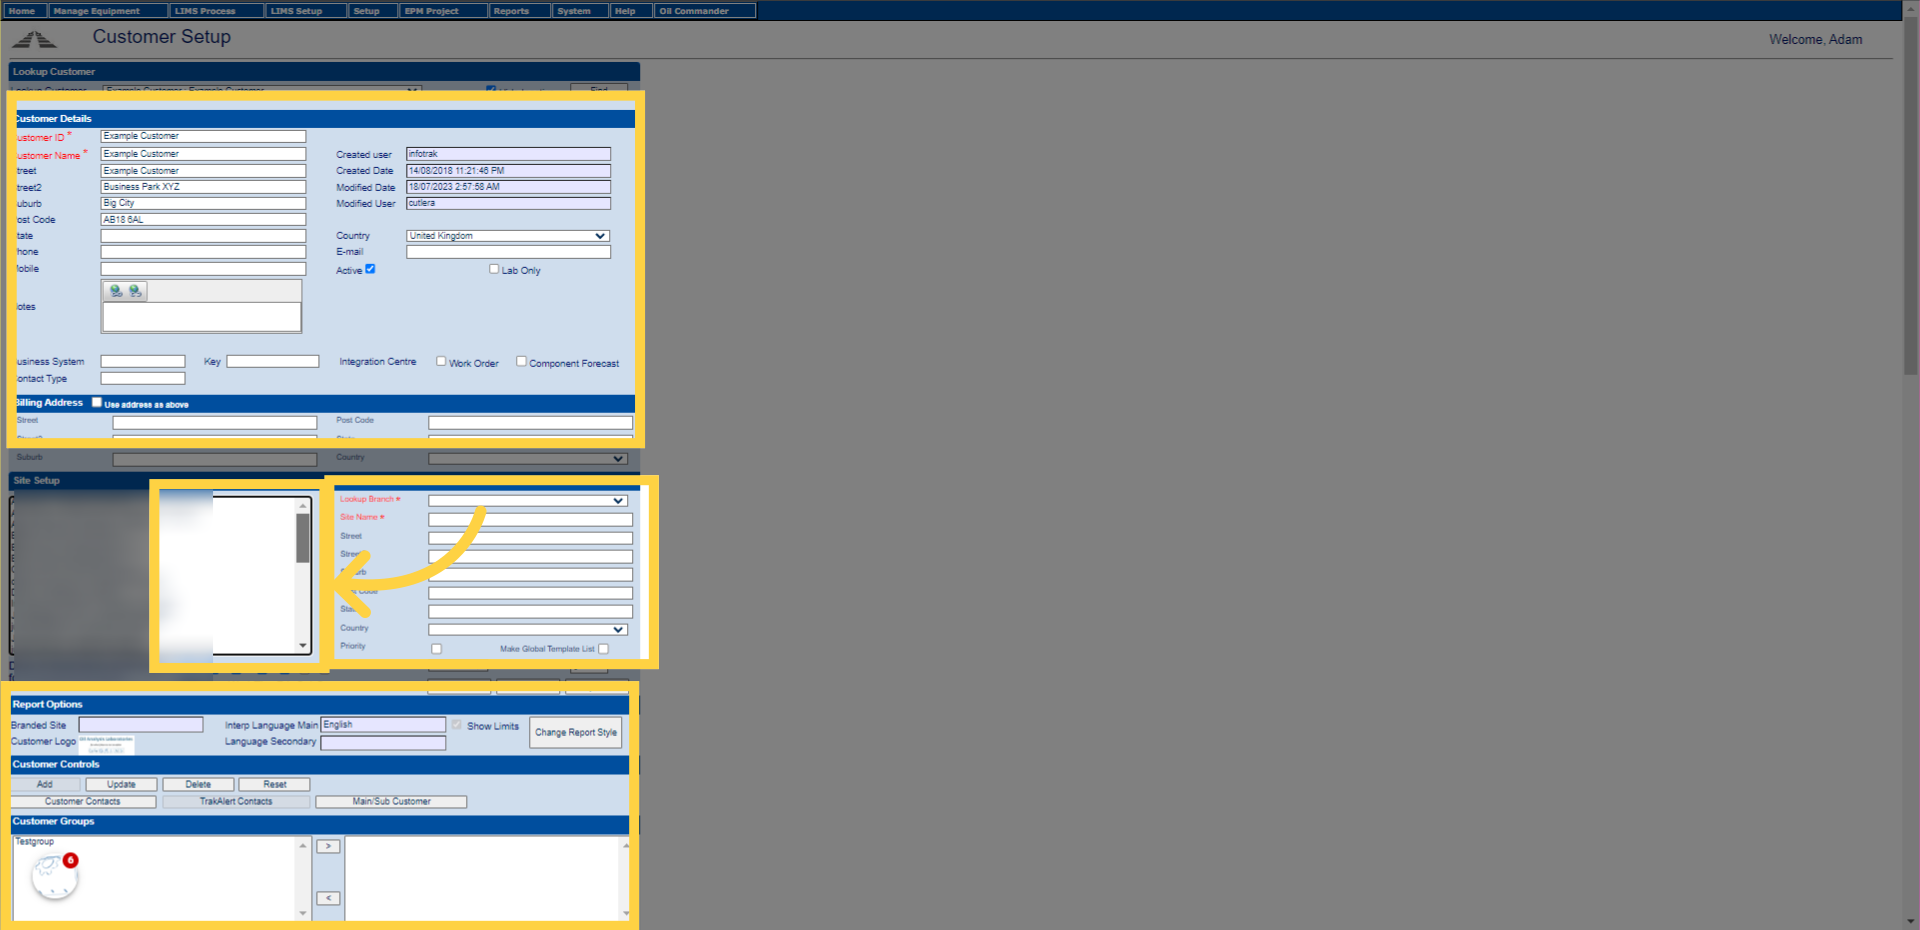
You have 3 main sections, the customer details and address at the top, the job site information in the middle and the brand and other lab based stuff at the bottom. For safety we recommend not touching the top or bottom sections ever and leave that for the lab to change. This is because if you do it wrong you can mess up quite a few things with your sample reports and data. Hence, don’t be a hero and stick to the middle section only.
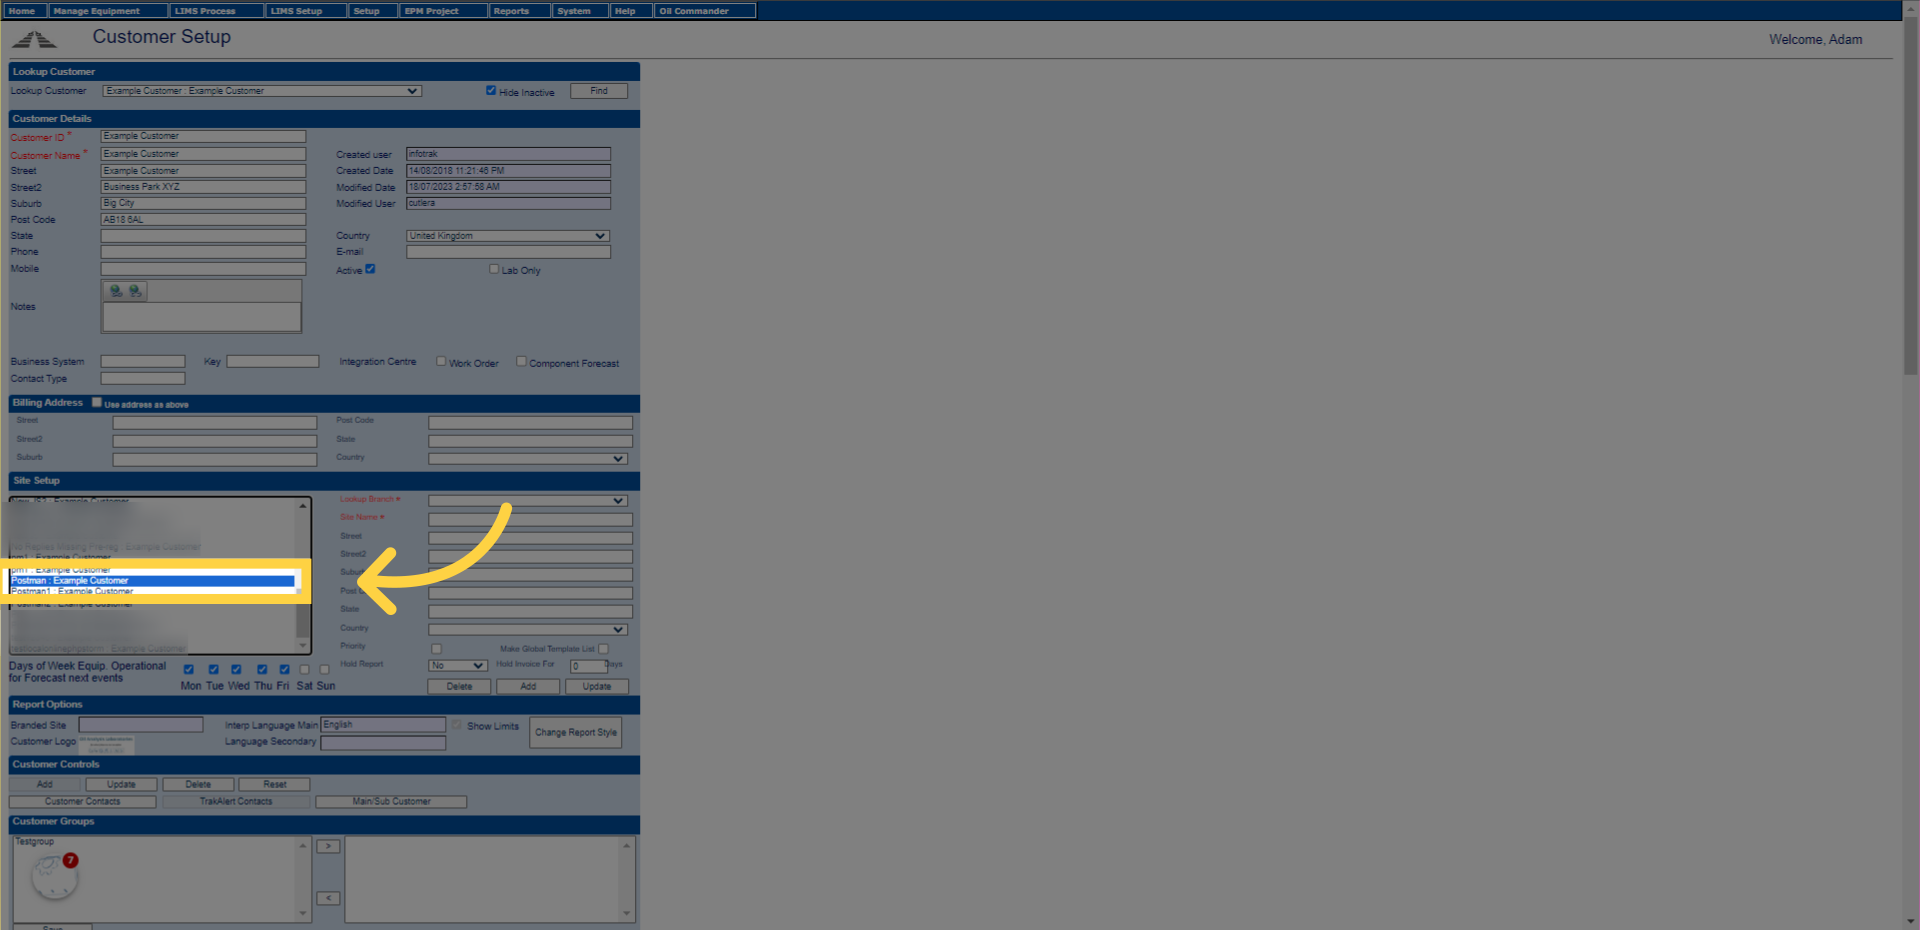
6. Pick jobsite you want to edit
I have made loads of videos and customer demos on making a jobsite, so I have quite a few rubbish named sites here that can be deleted. So lets delete some of those now. I am going to delete some of these postman ones I created for some reason.
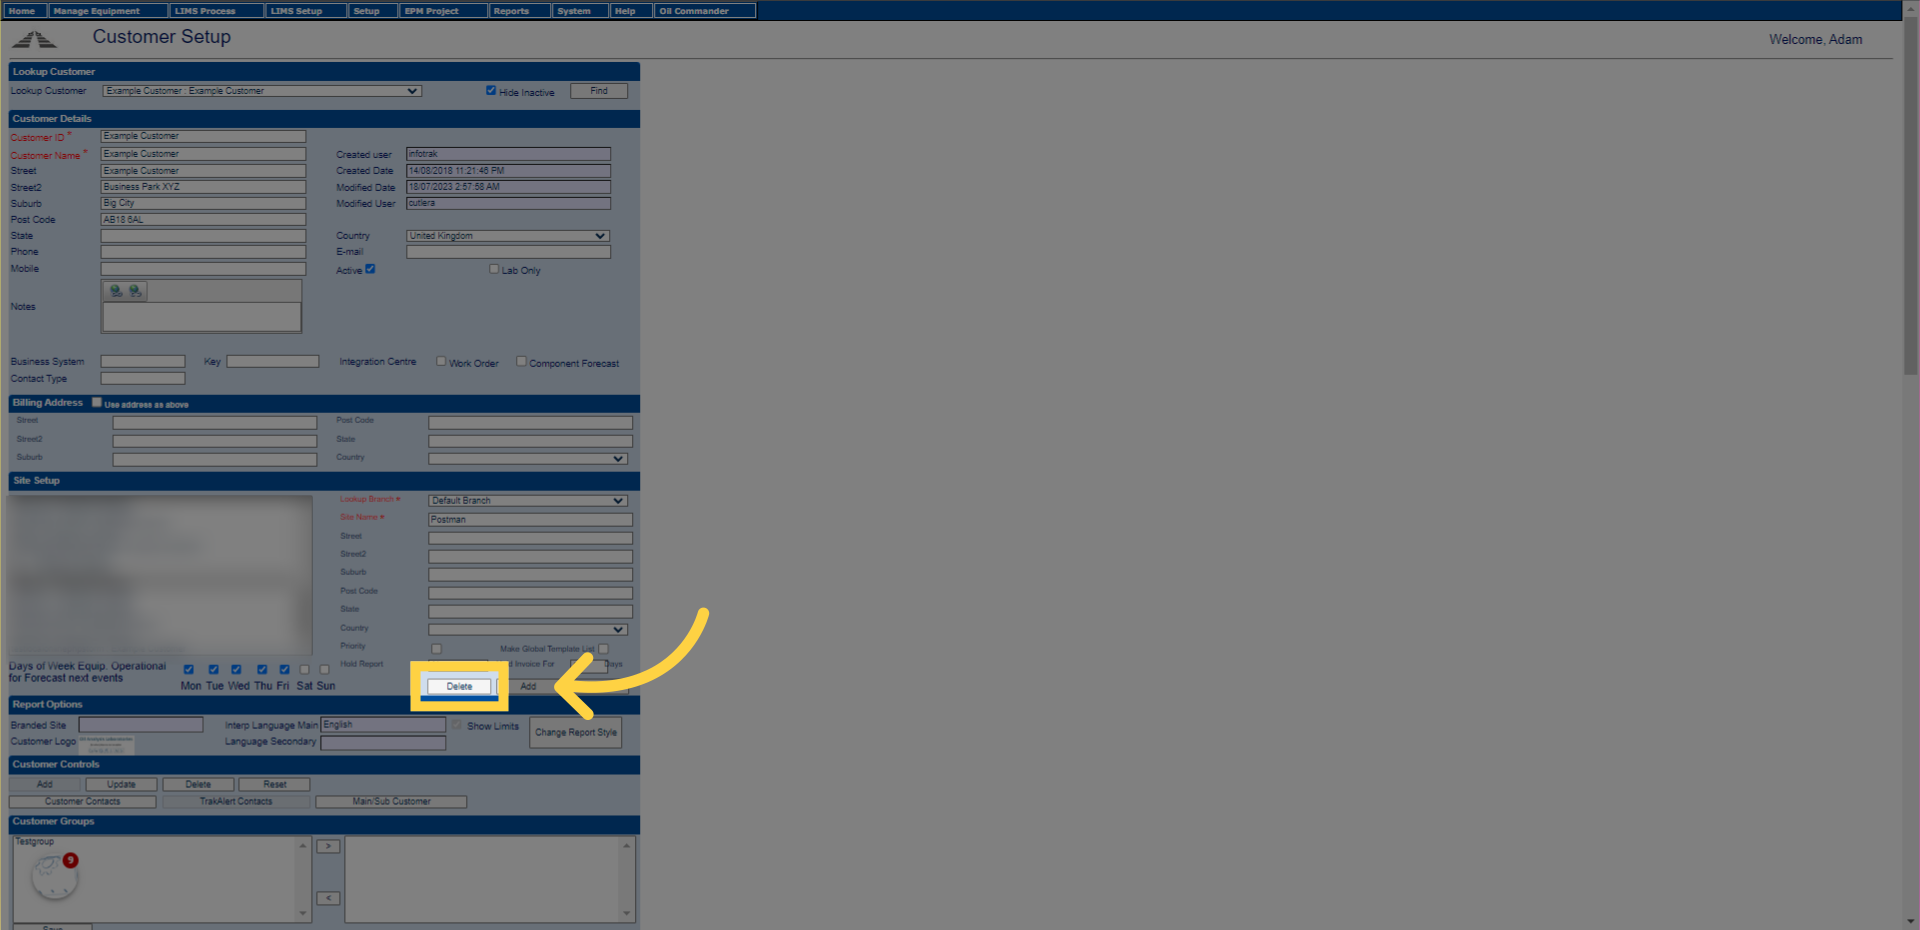
7. Click “Delete”
After clicking the entry, it should show in the red boxes at the top under lookup brand and jobsite. Make sure its the one you want to delete and click on the “Delete” option. If the site has sample points and equipment associated with it you will be given a warning. You will need to move those sample points to another site first before being able to delete the current job site. If it works, a notification will popup and you can press ok on that in your browser. If it hasn’t deleted refresh the page and try this again but with less time wasting as access to the database does have a timeout.
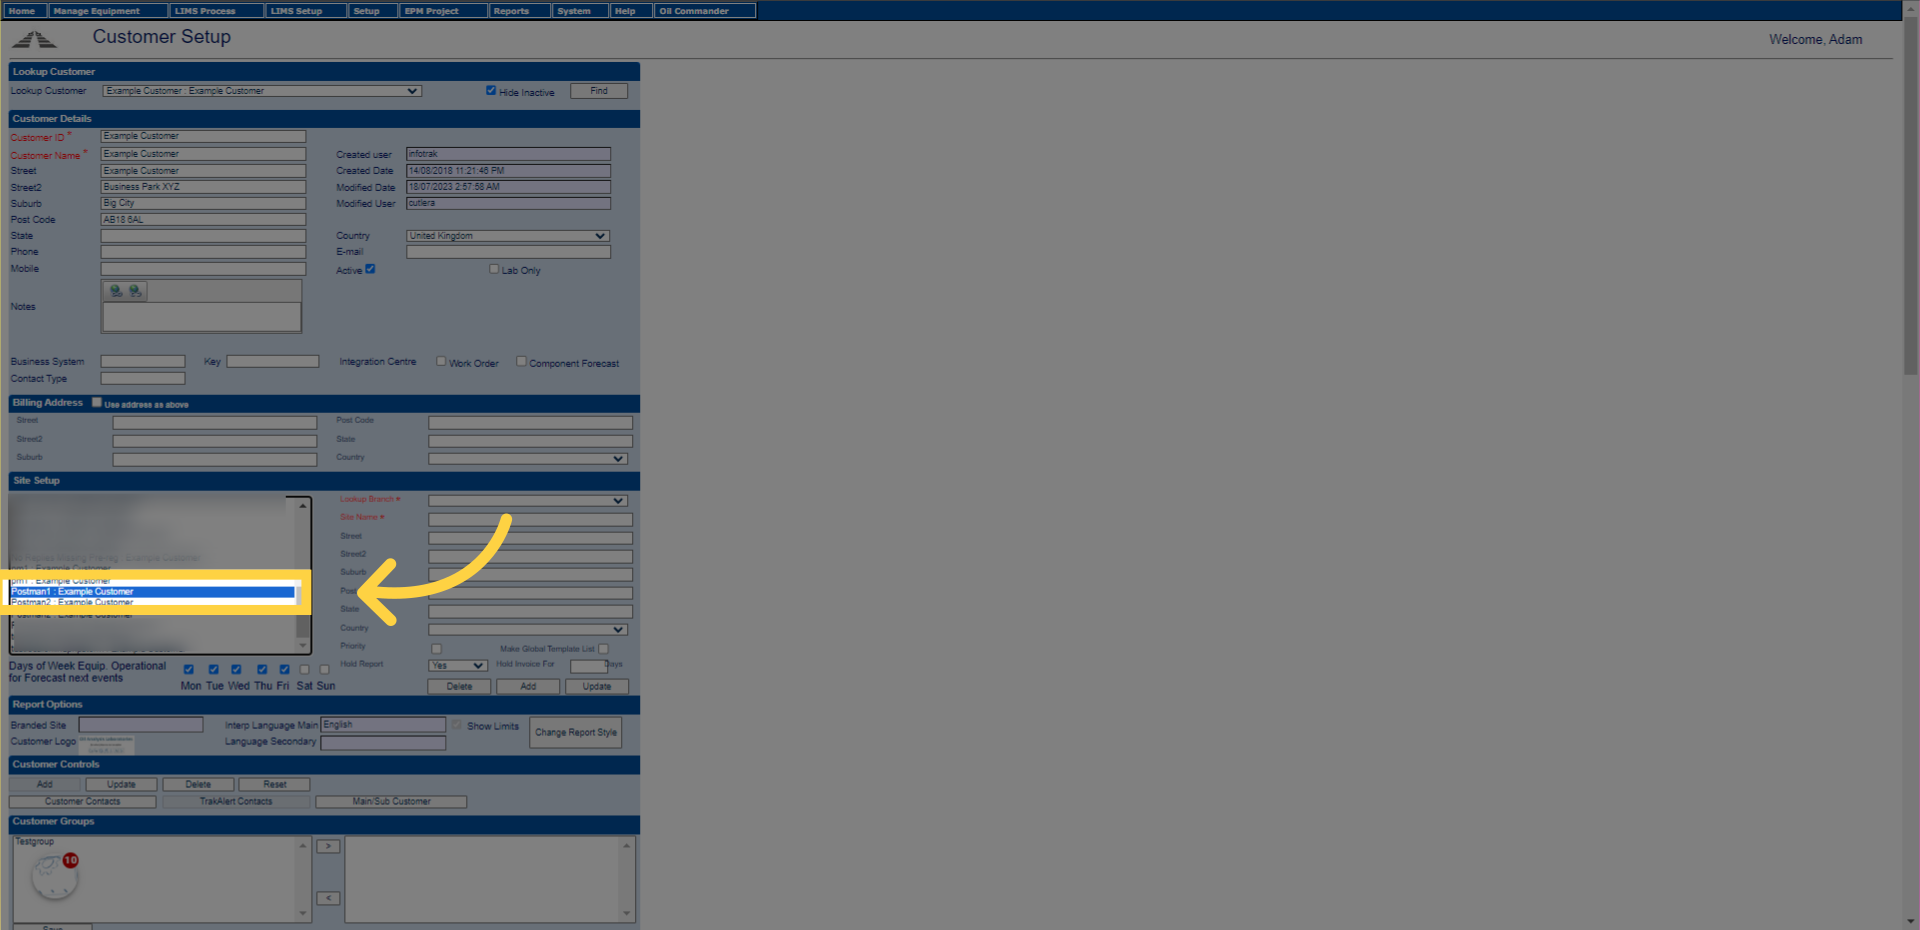
8. Select a jobsite
Now i have shown you to delete one, lets now edit one. So I pick another site.
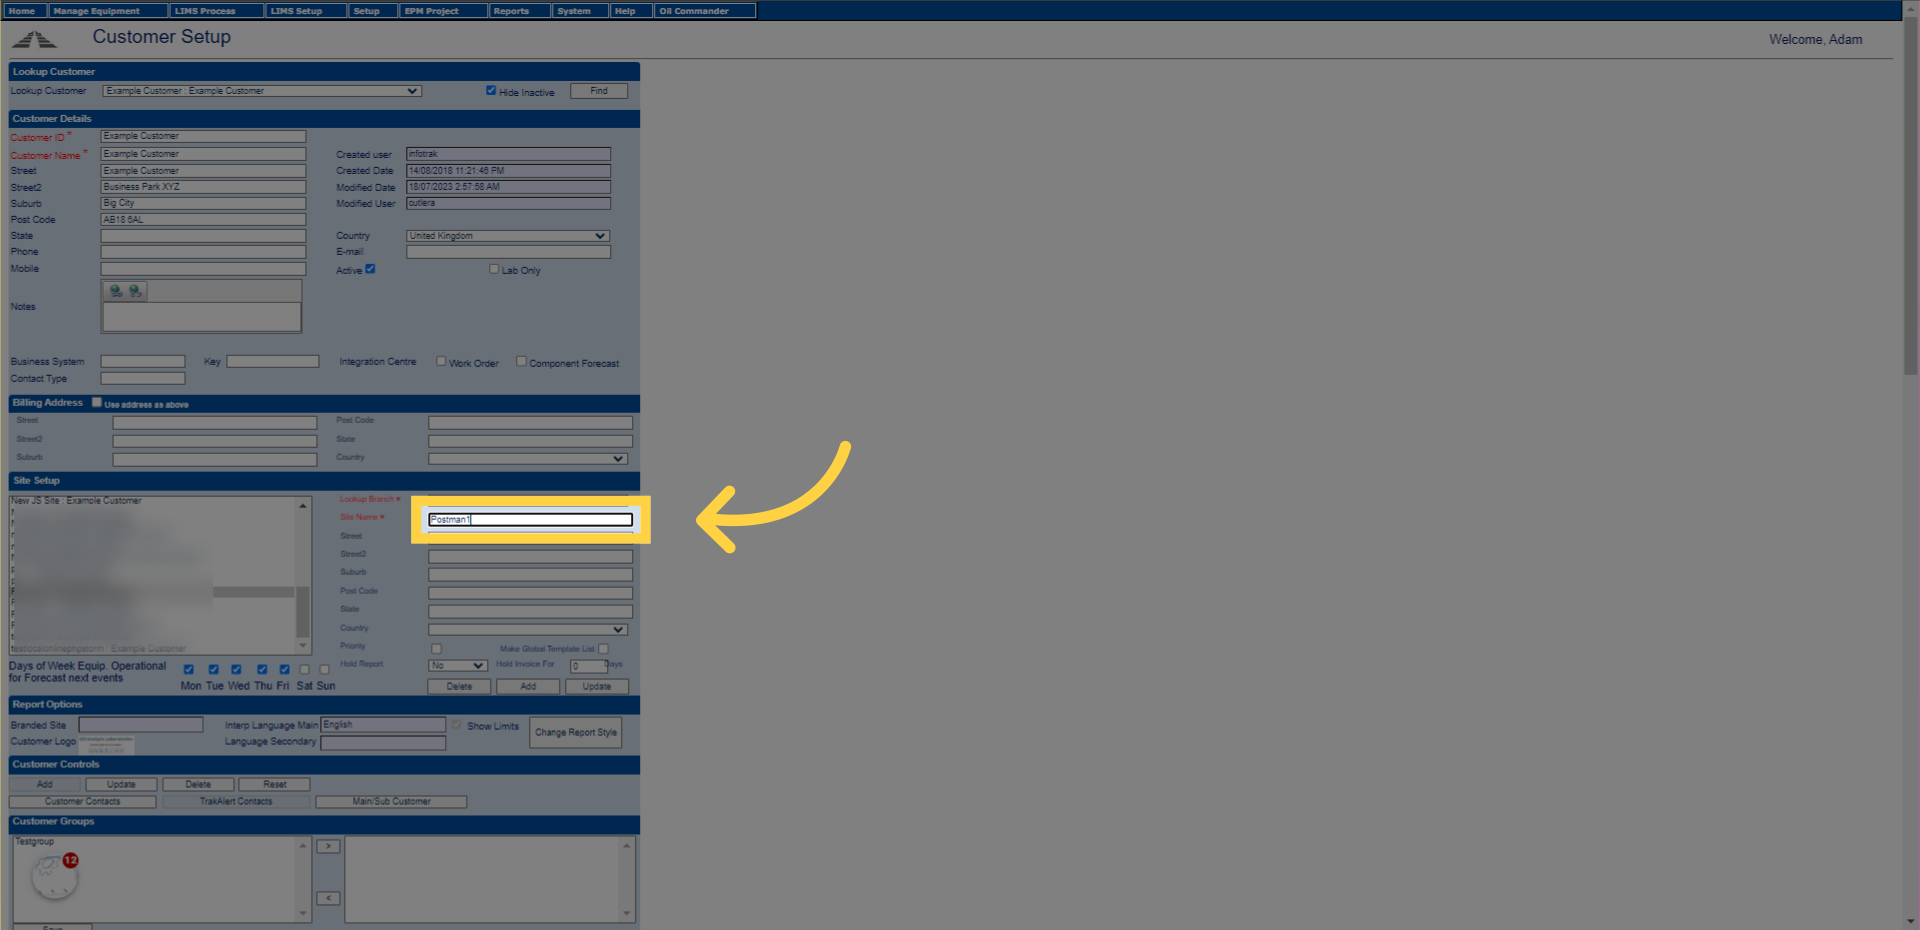
9. Rename the jobsite as needed
Make sure lookup branch is not empty and has a value picked in the dropdown, or it won’t work, then change the value of the jobsite to what you want it to be.
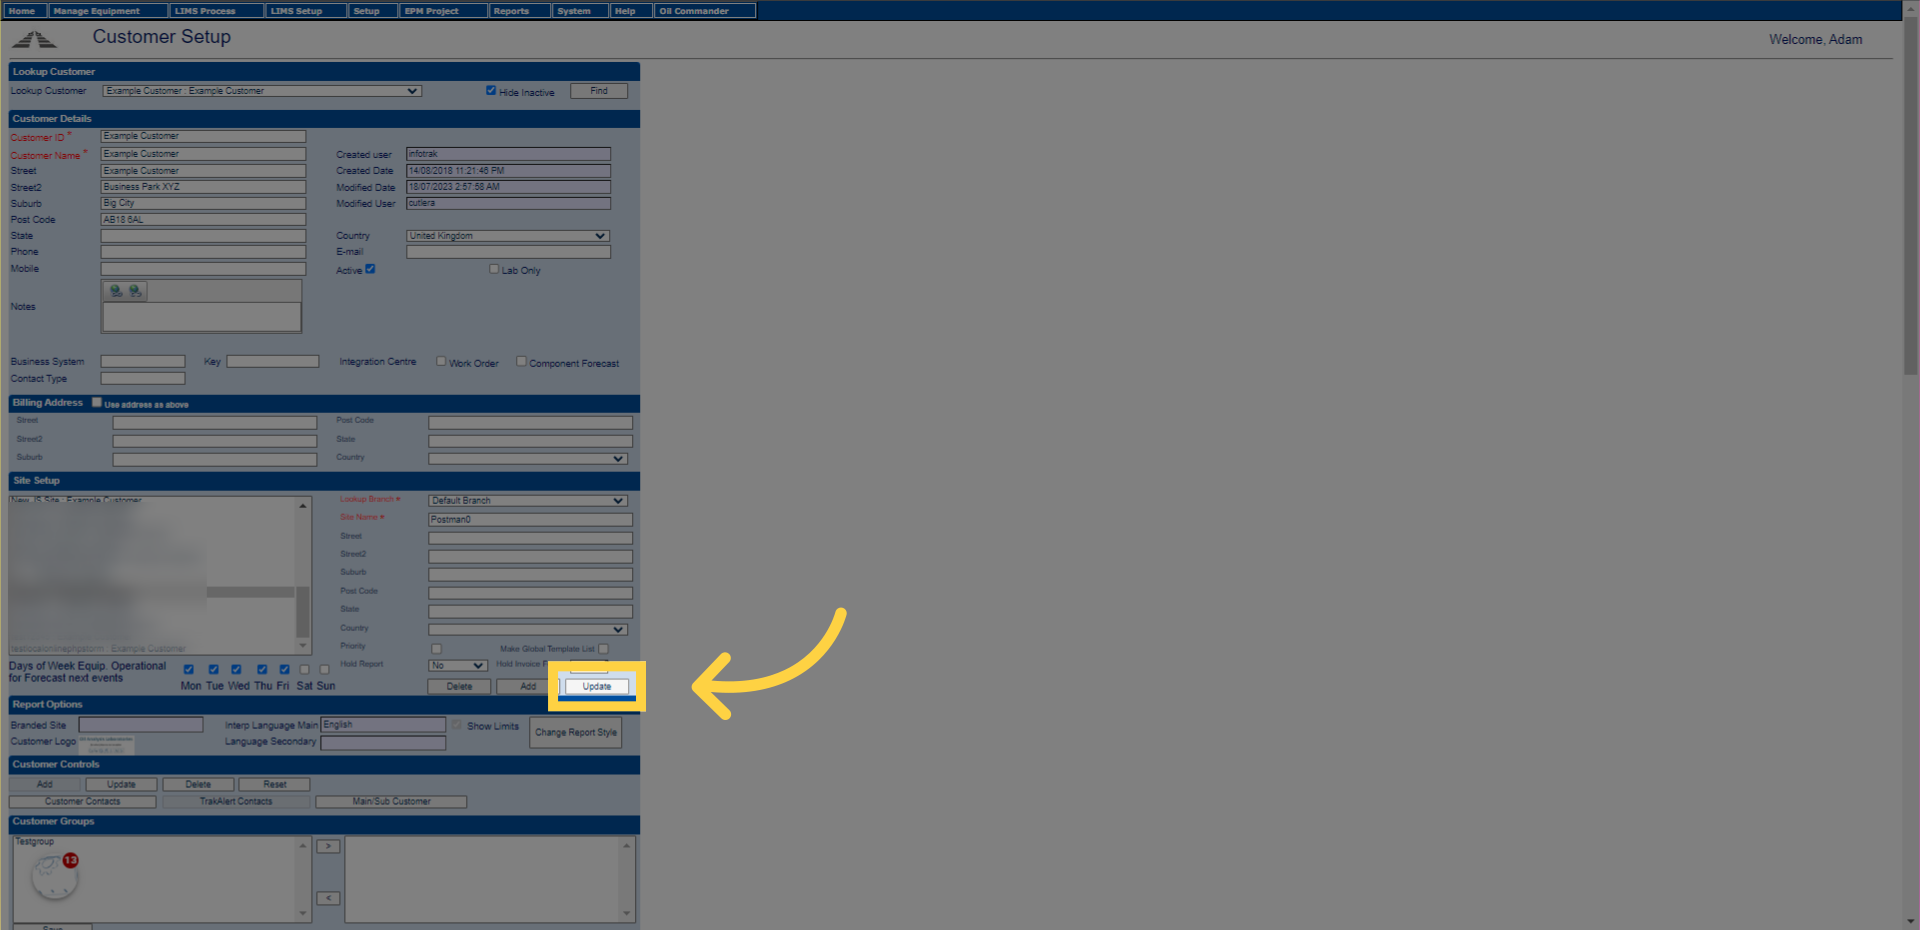
10. Click “Update”
Click on the “Update” option. Your entry will be saved.
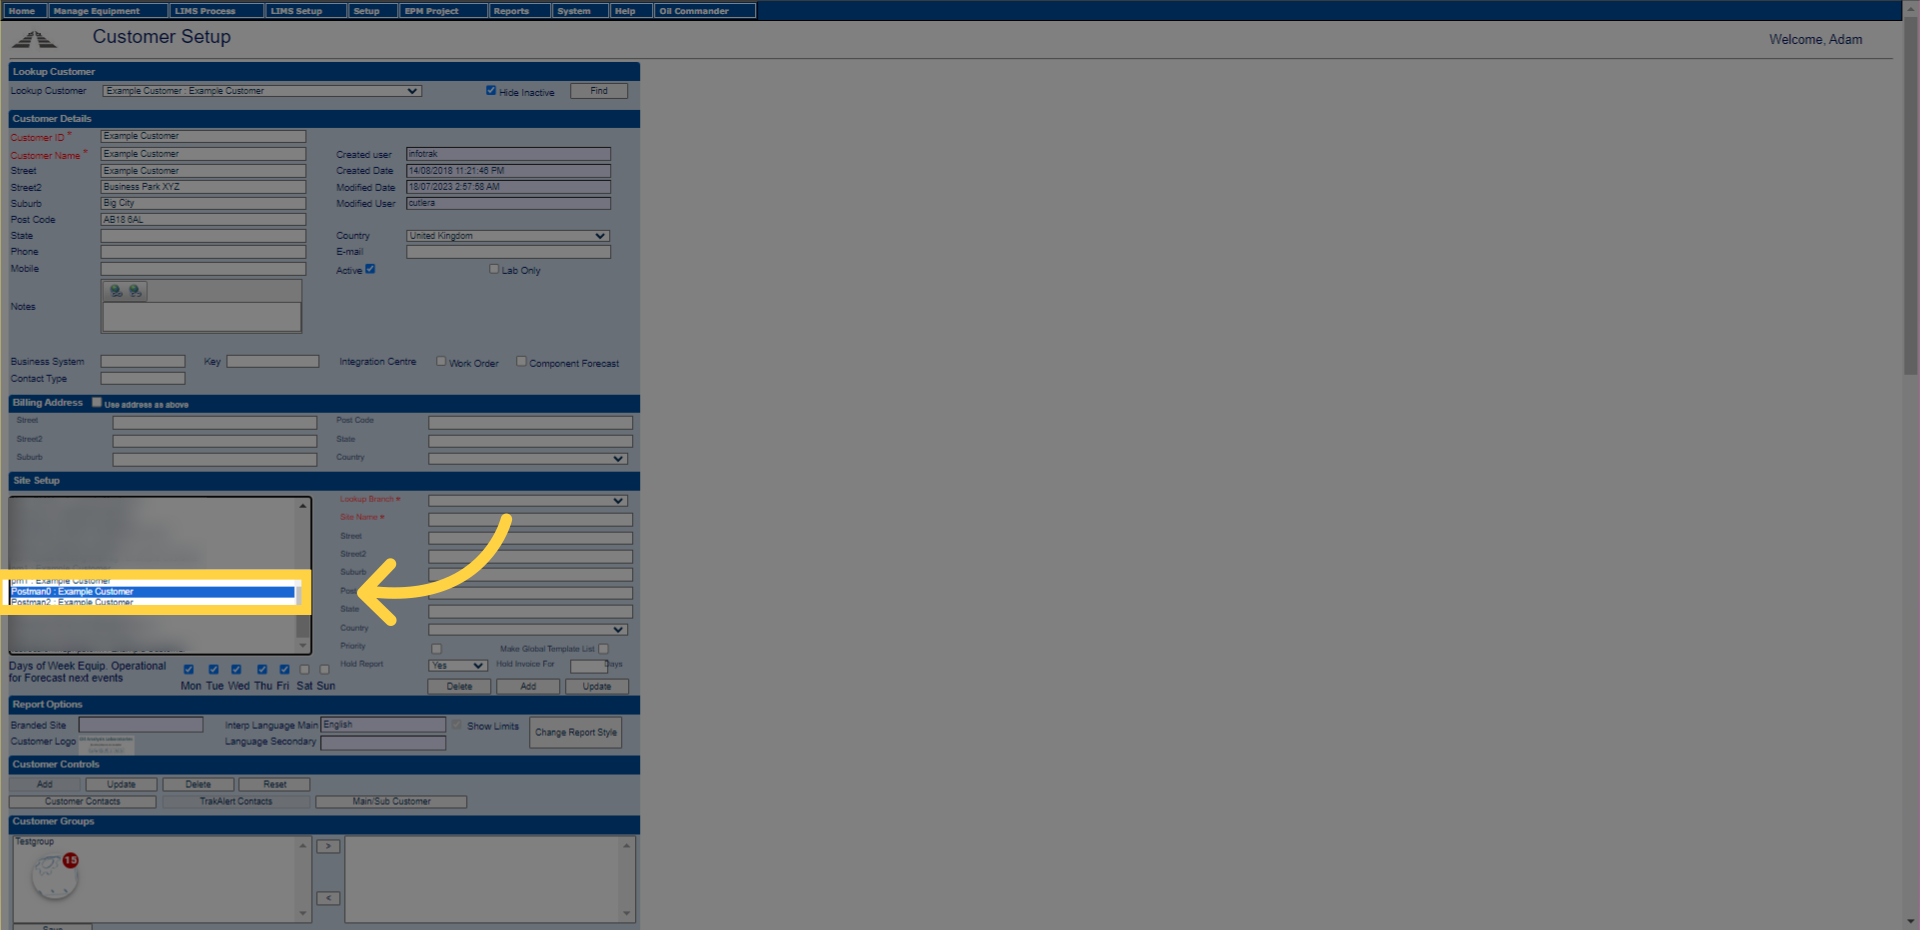
11. Lazy tip
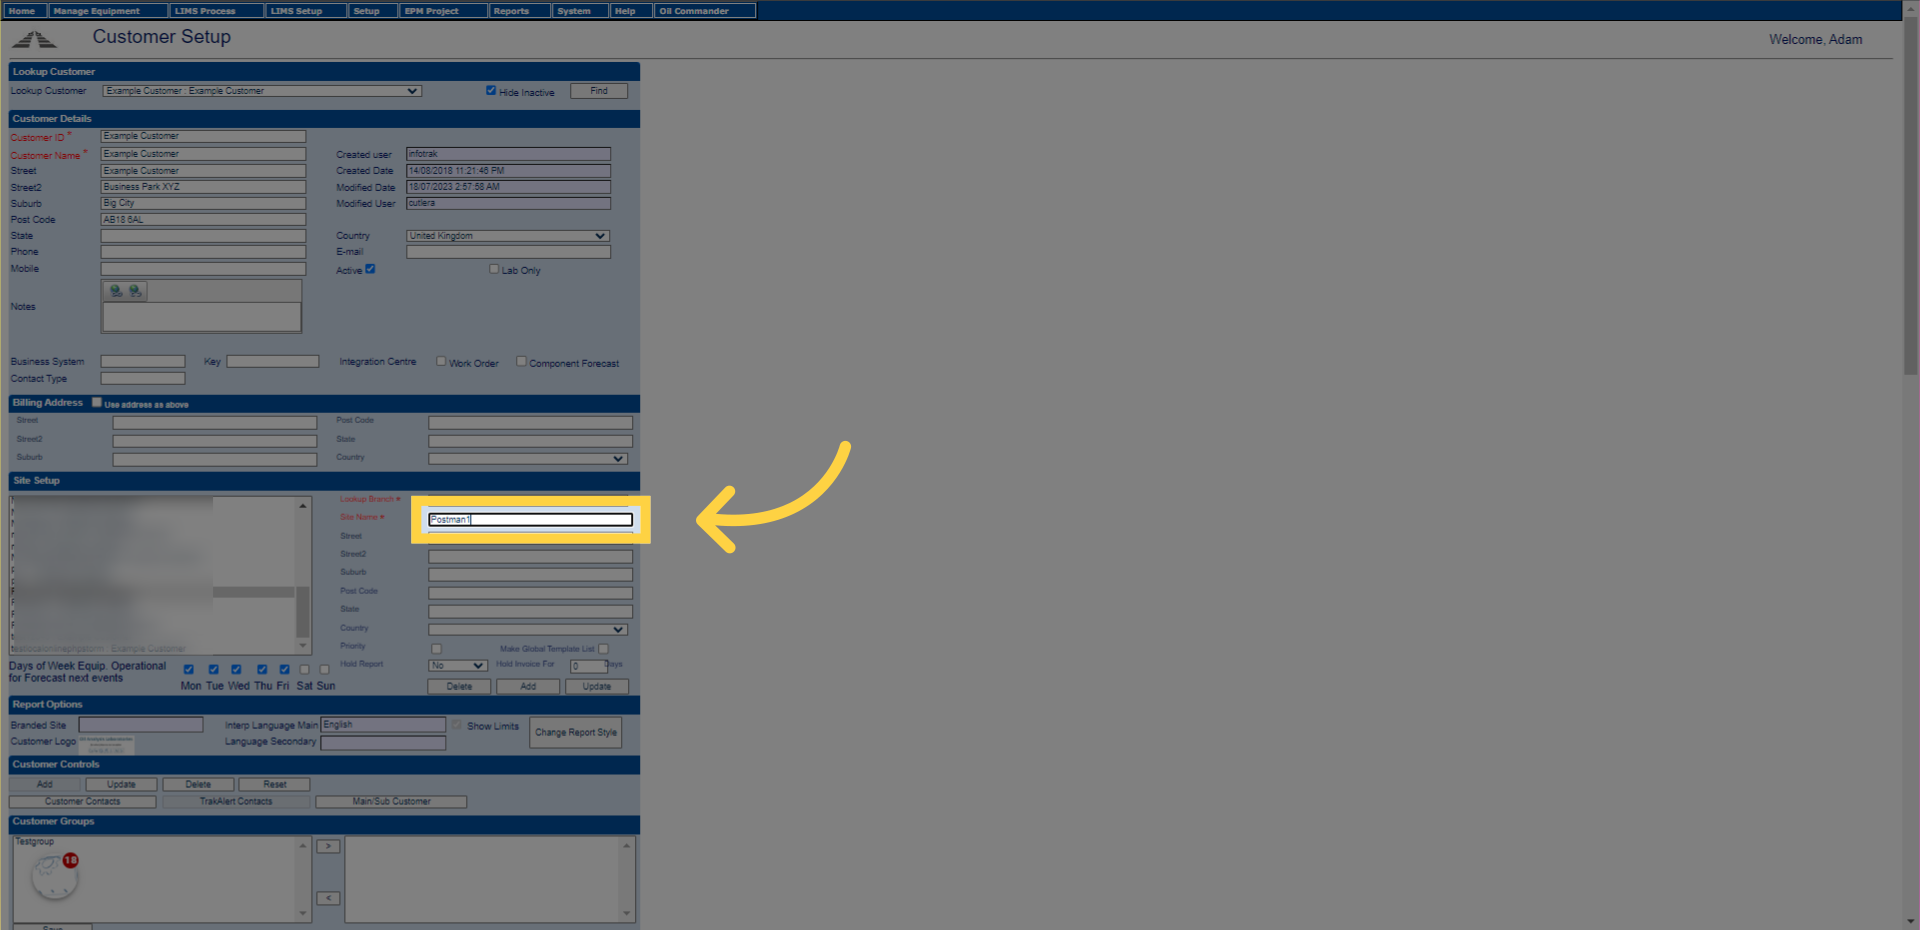
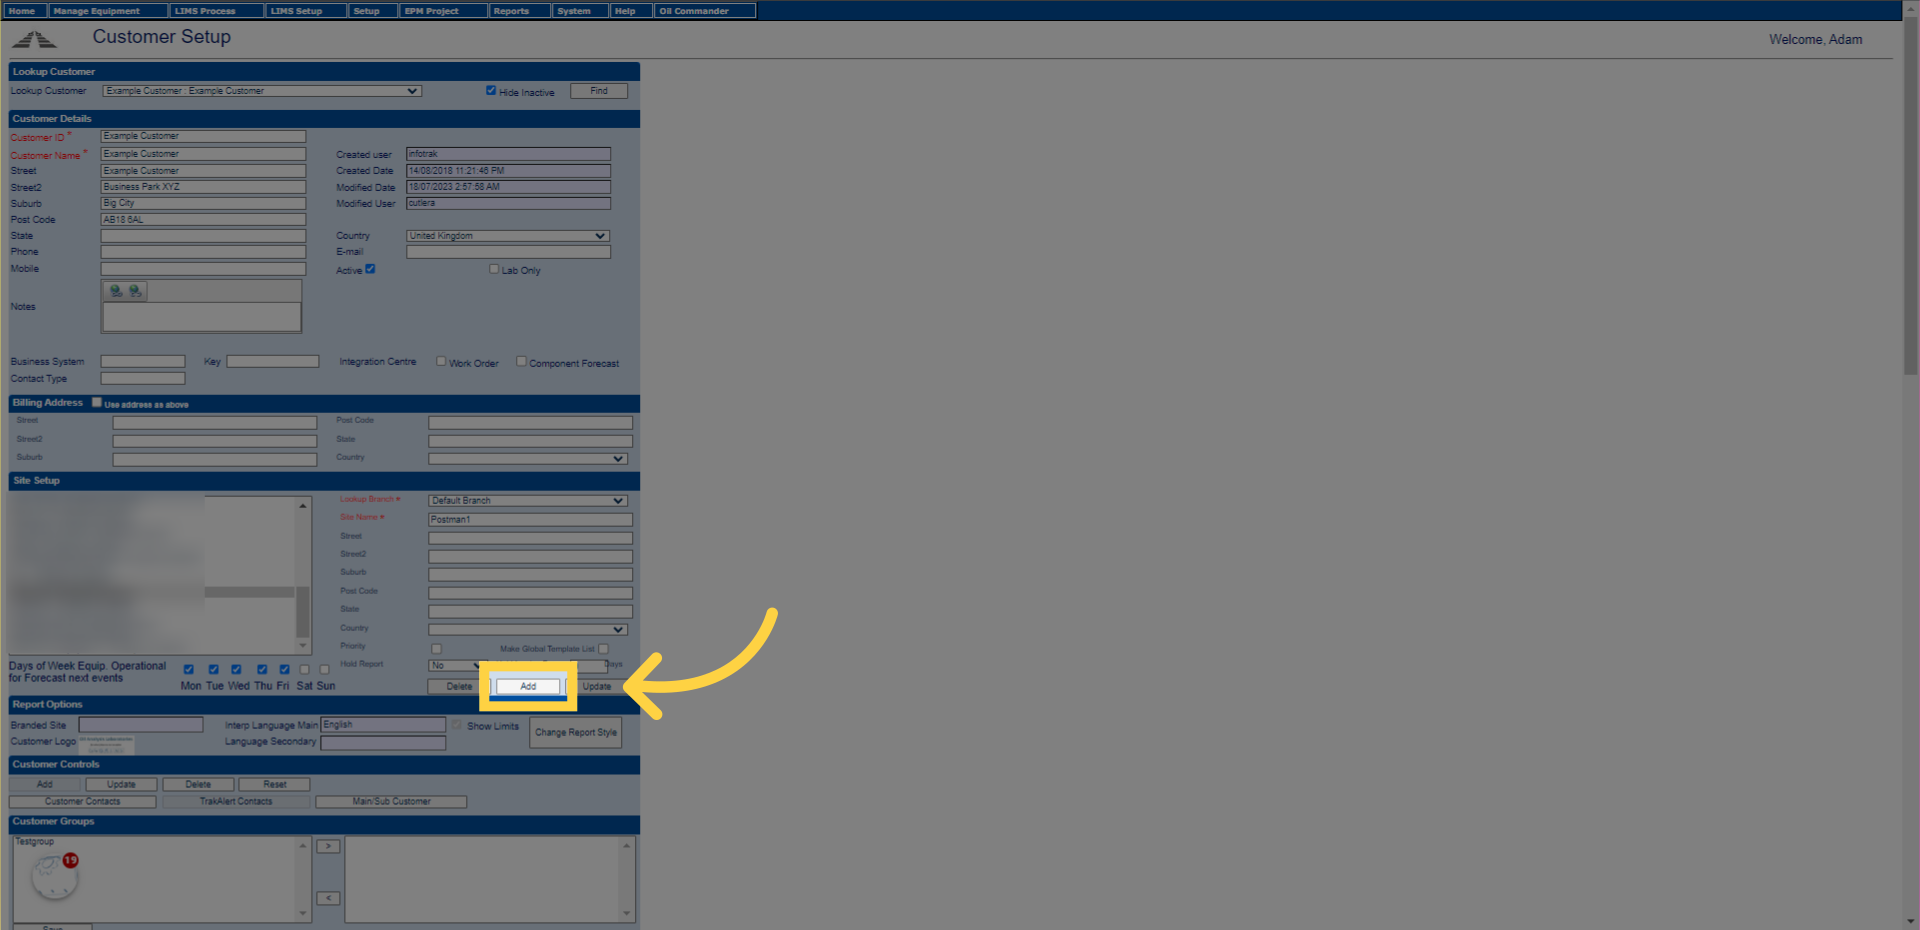
Sometimes, i want to add a new jobsite, but can’t be bothered to write out the full name. So you can cheat here and click a close souding jobsite name and just change and press add and it will do a save as for you.
12. Edit the text to match the new name
Like this…..PostMan zero now has a postman 1 too.
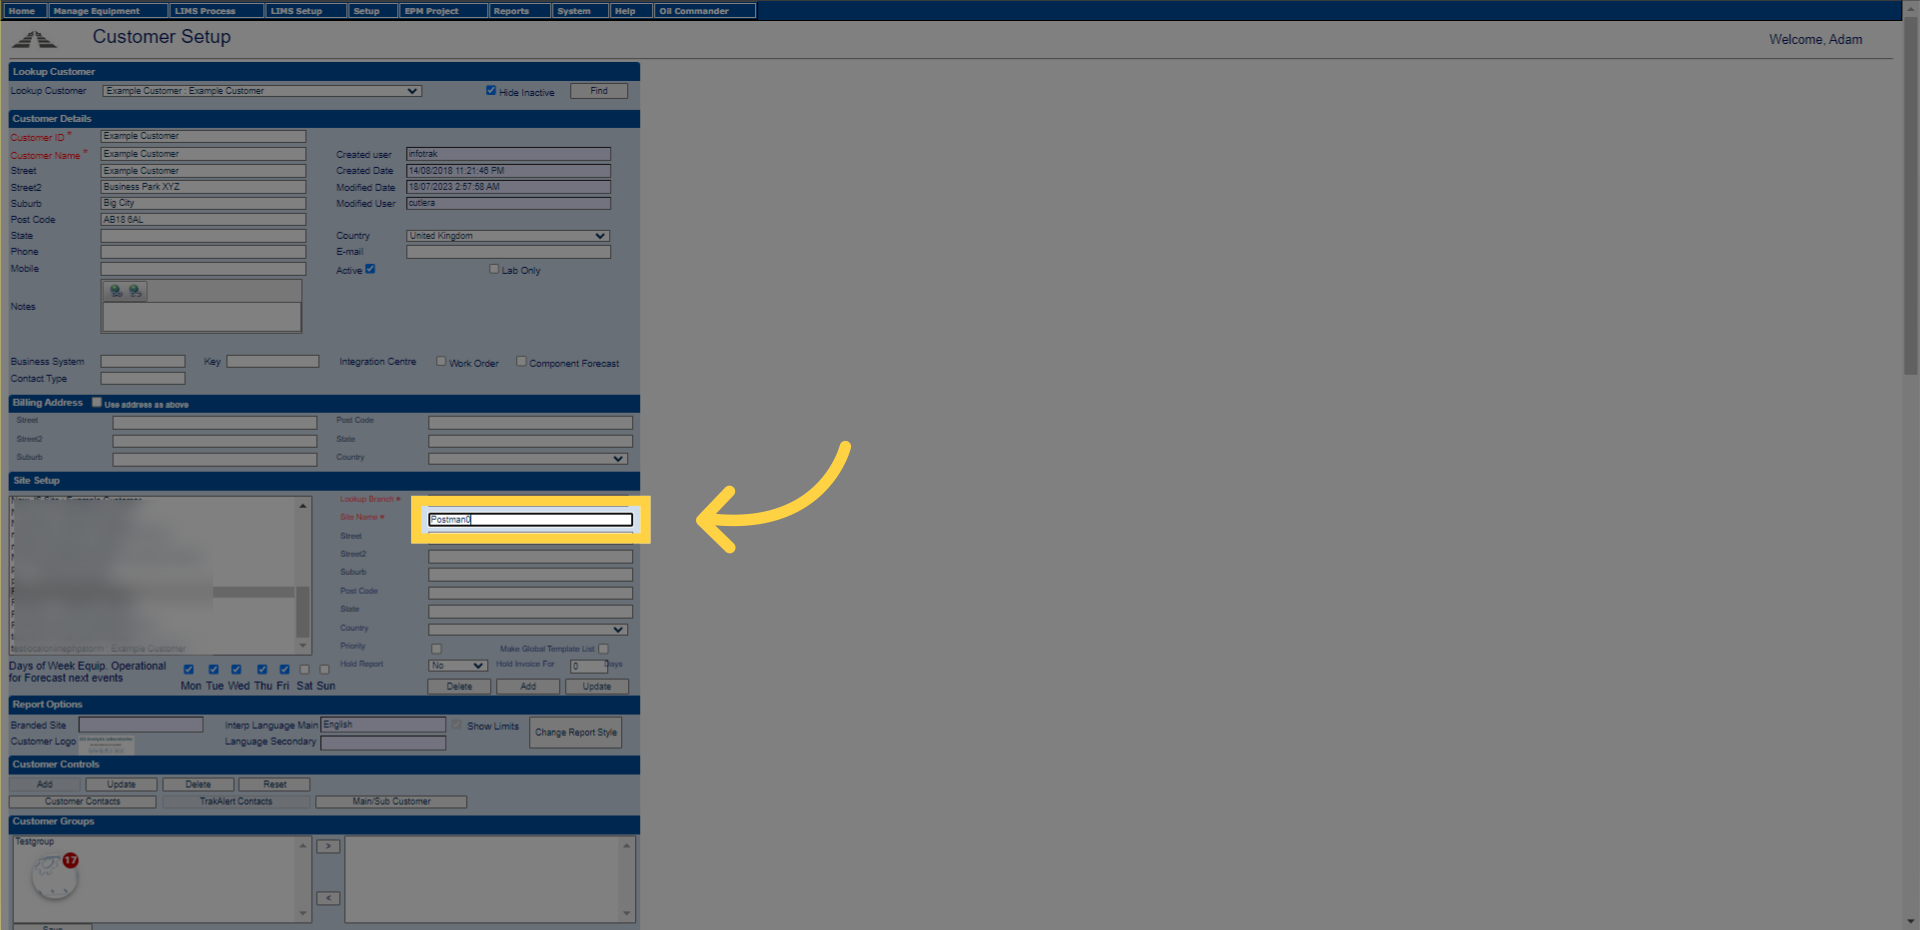
13. Fill “Postman1”
Voila!
14. Click “Add”
Click on the “Add” option.
In this guide, you learned how to edit and delete jobsites in the Lubewear application. By following these instructions, you can easily update and remove jobsite information to keep your records accurate and up to date.

